Category List
-
All Categories
-
All Categories
-
 Clearance
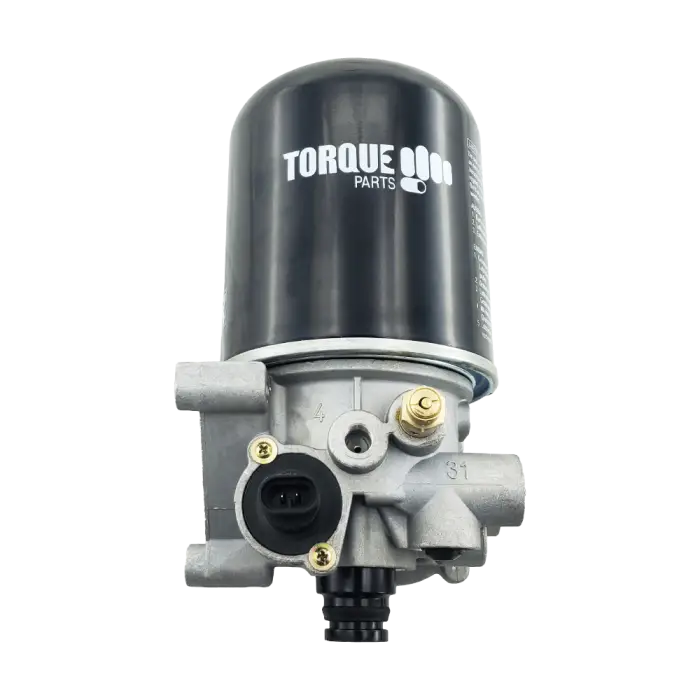
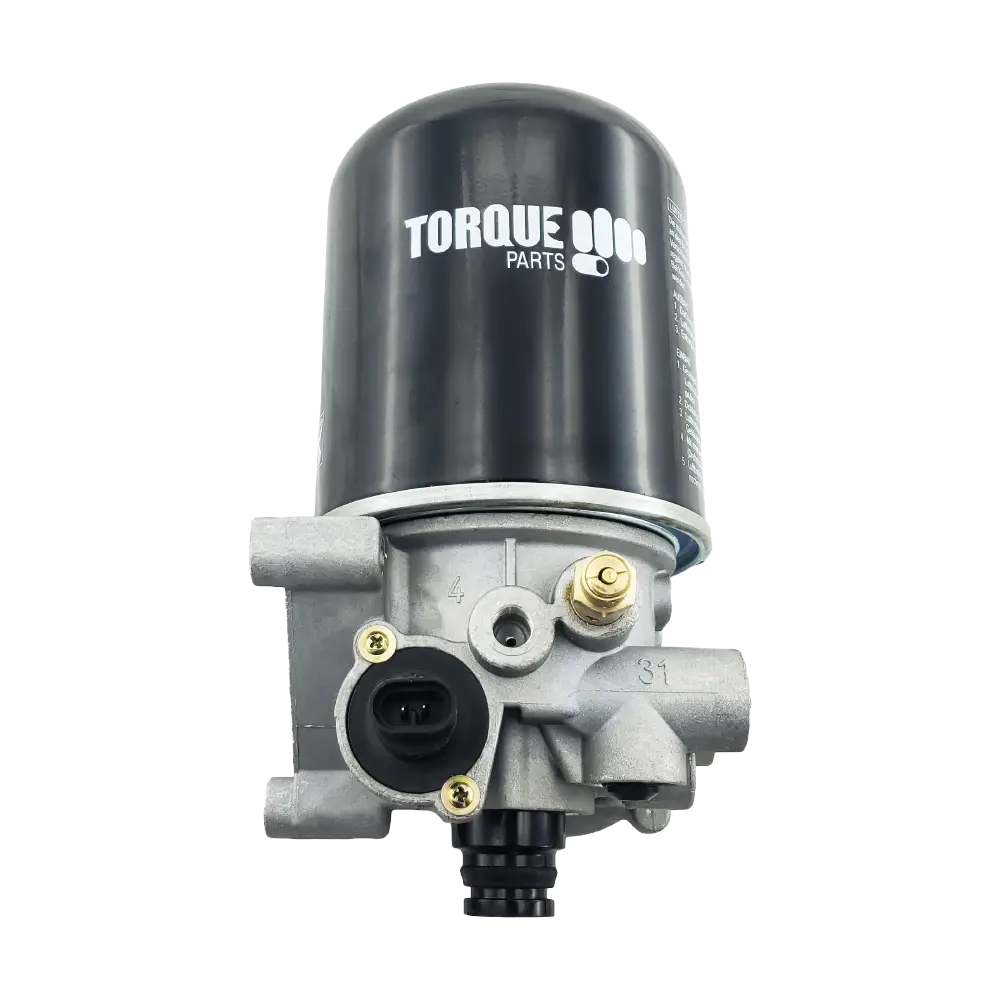 Air Brake Components
 Air Filters
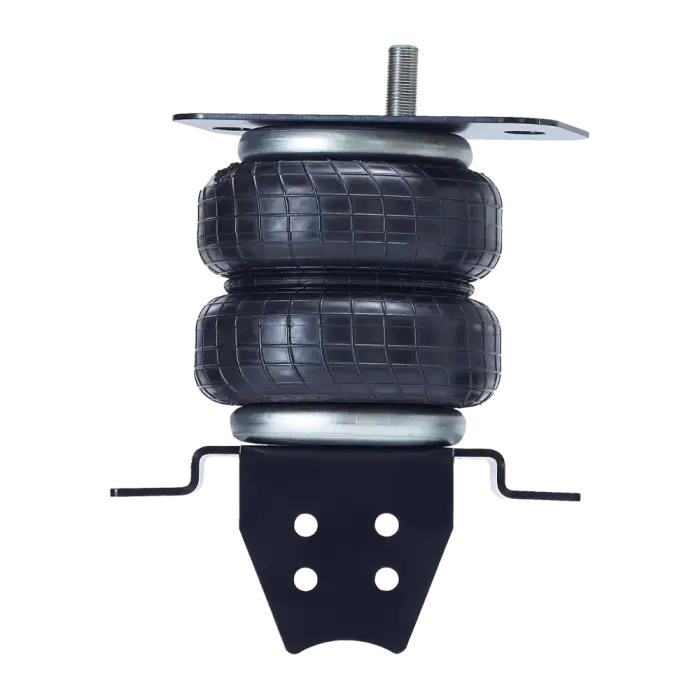
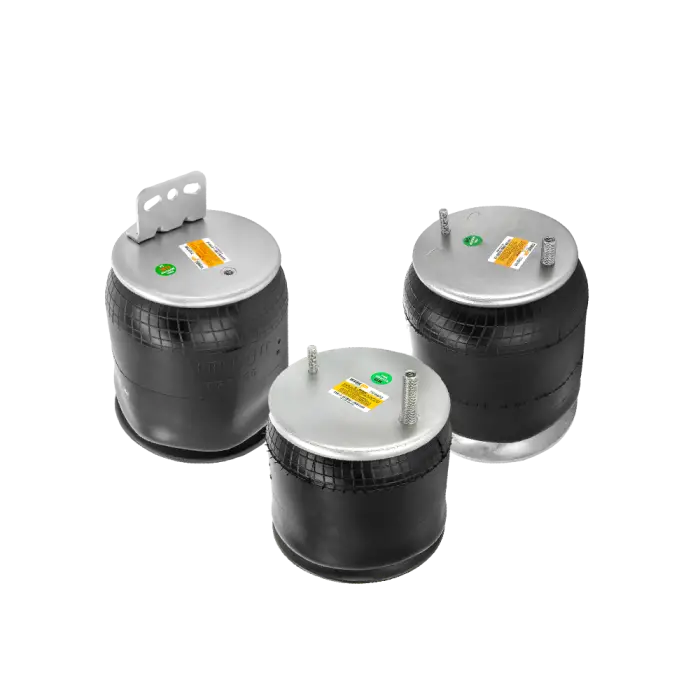
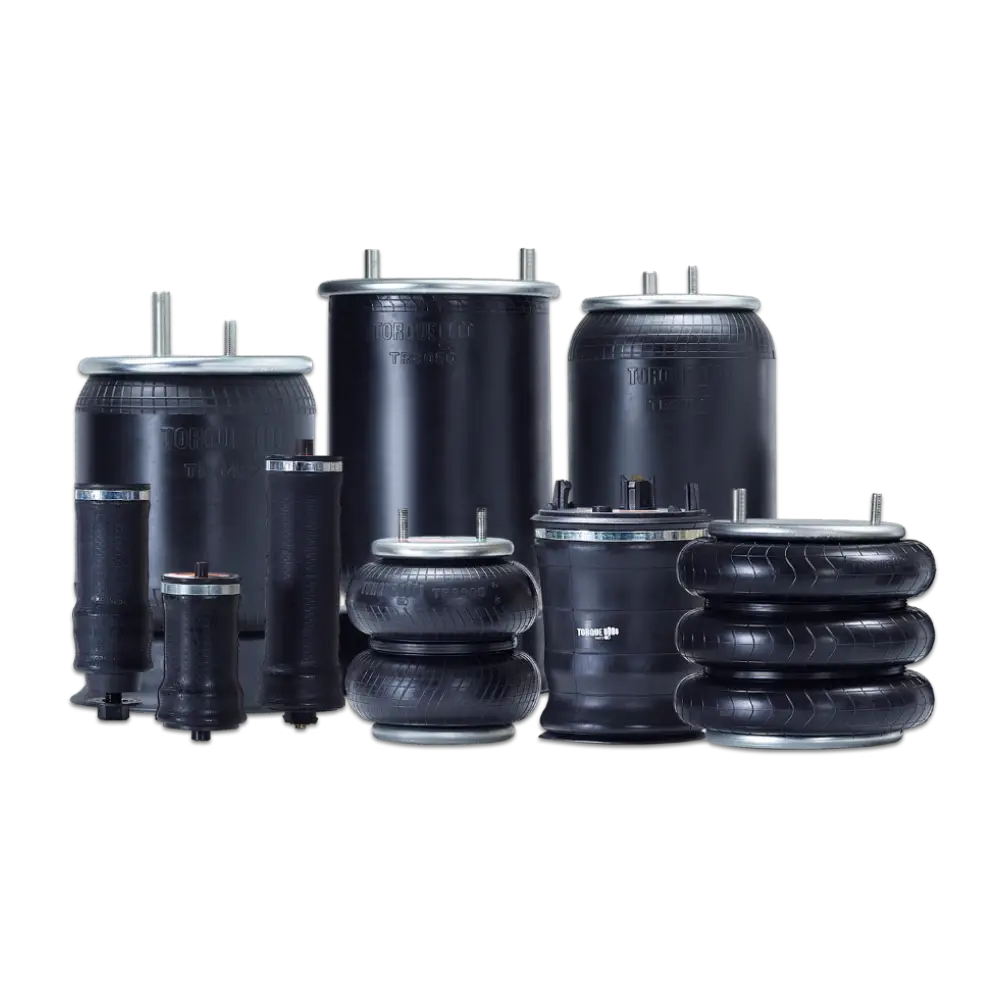 Air Springs
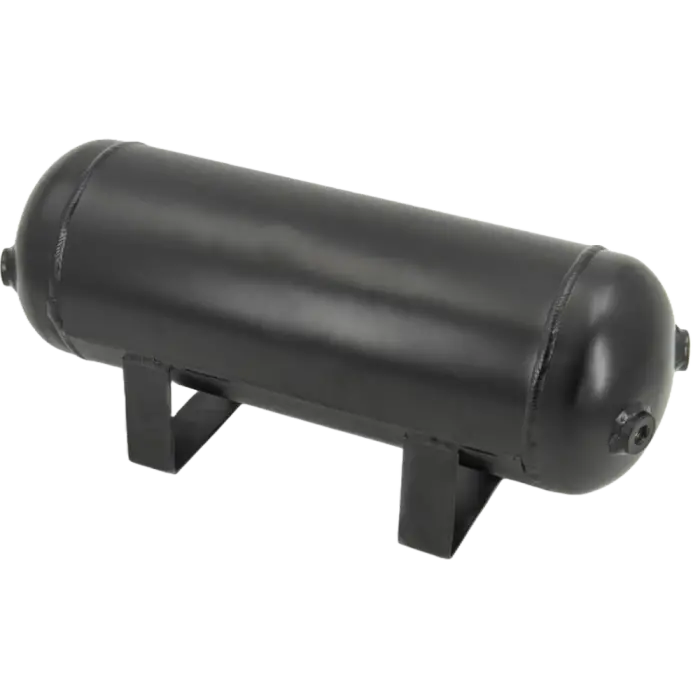
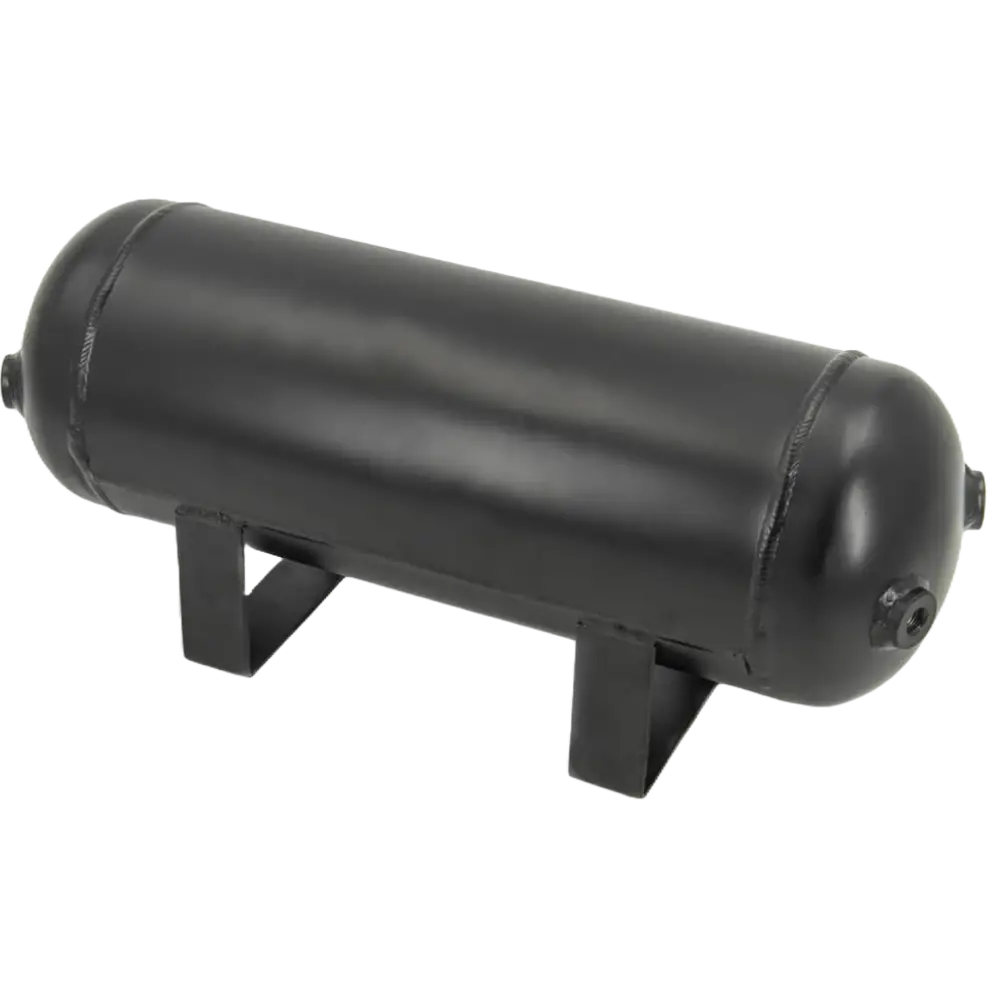 Air Tanks
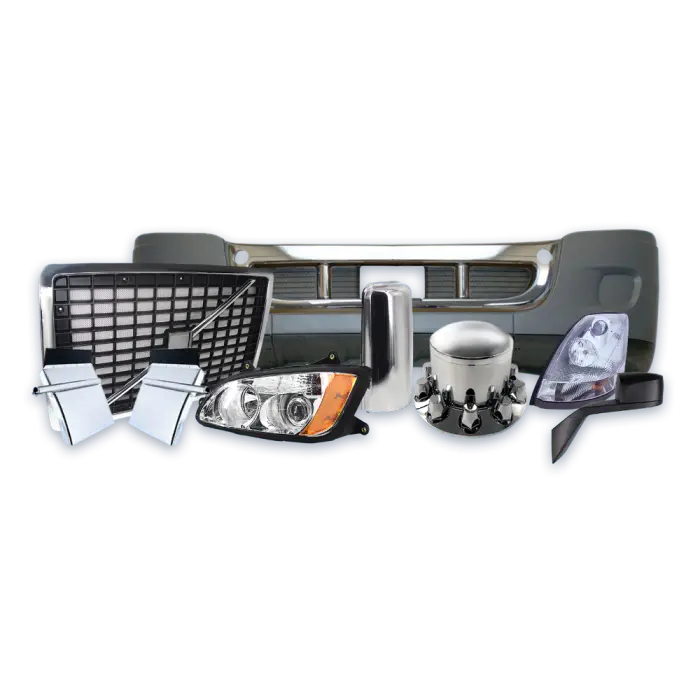
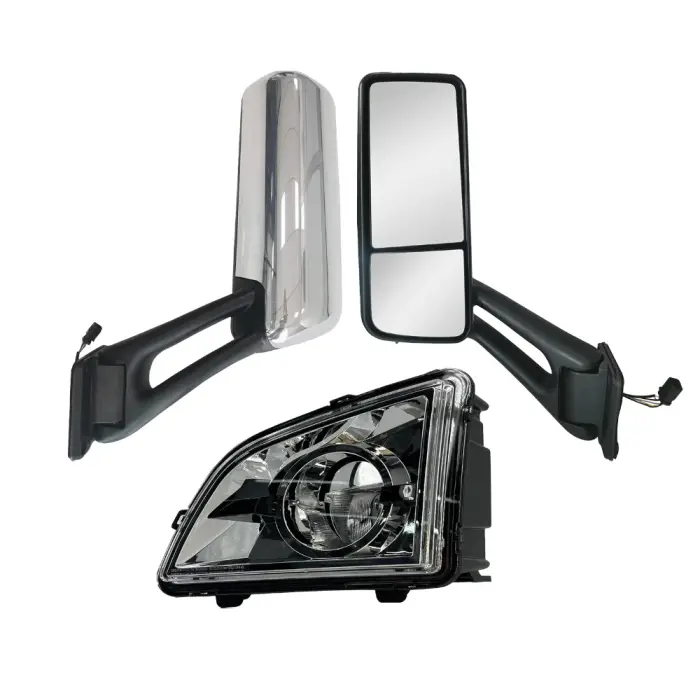
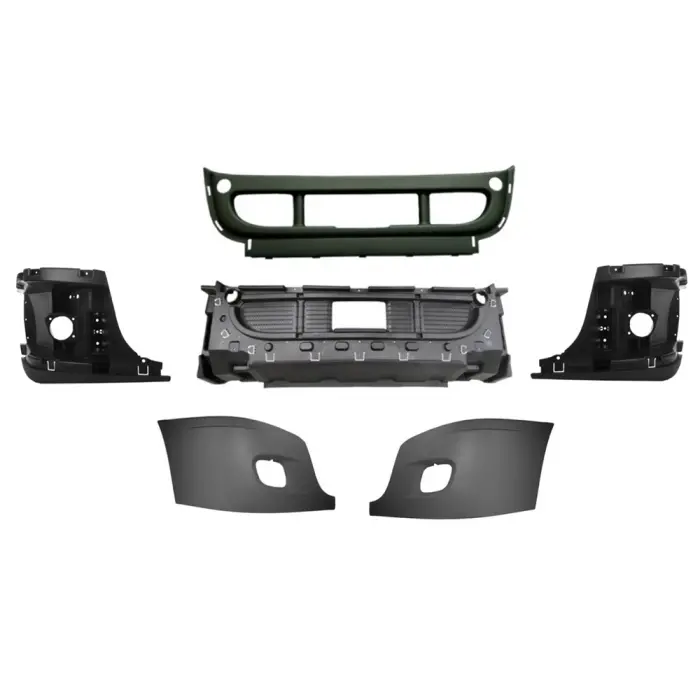
 Body Parts
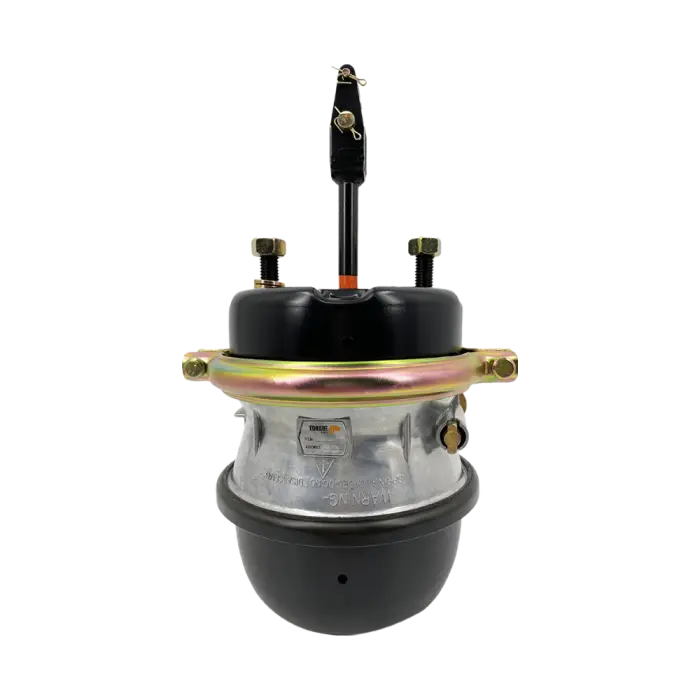
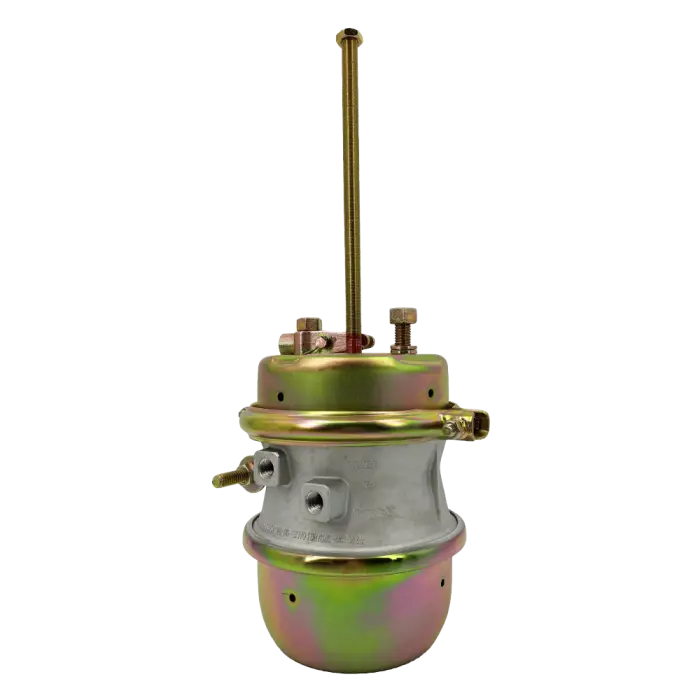
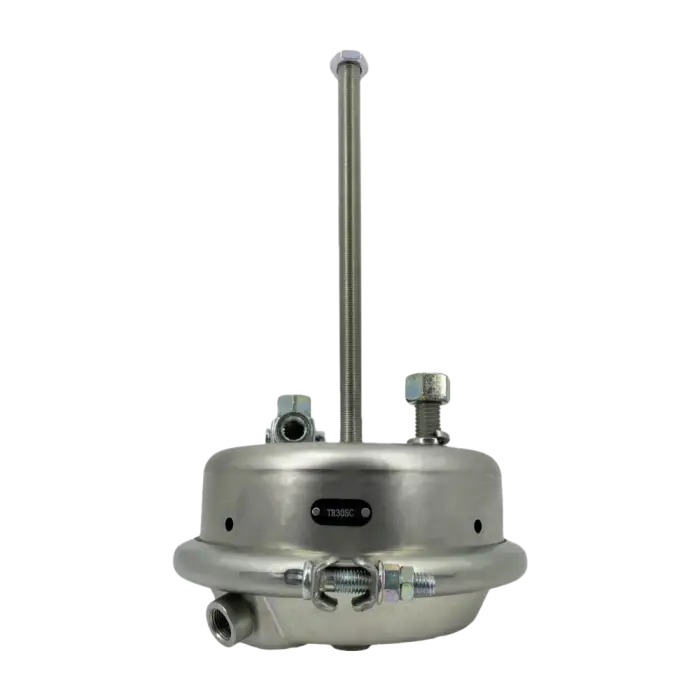
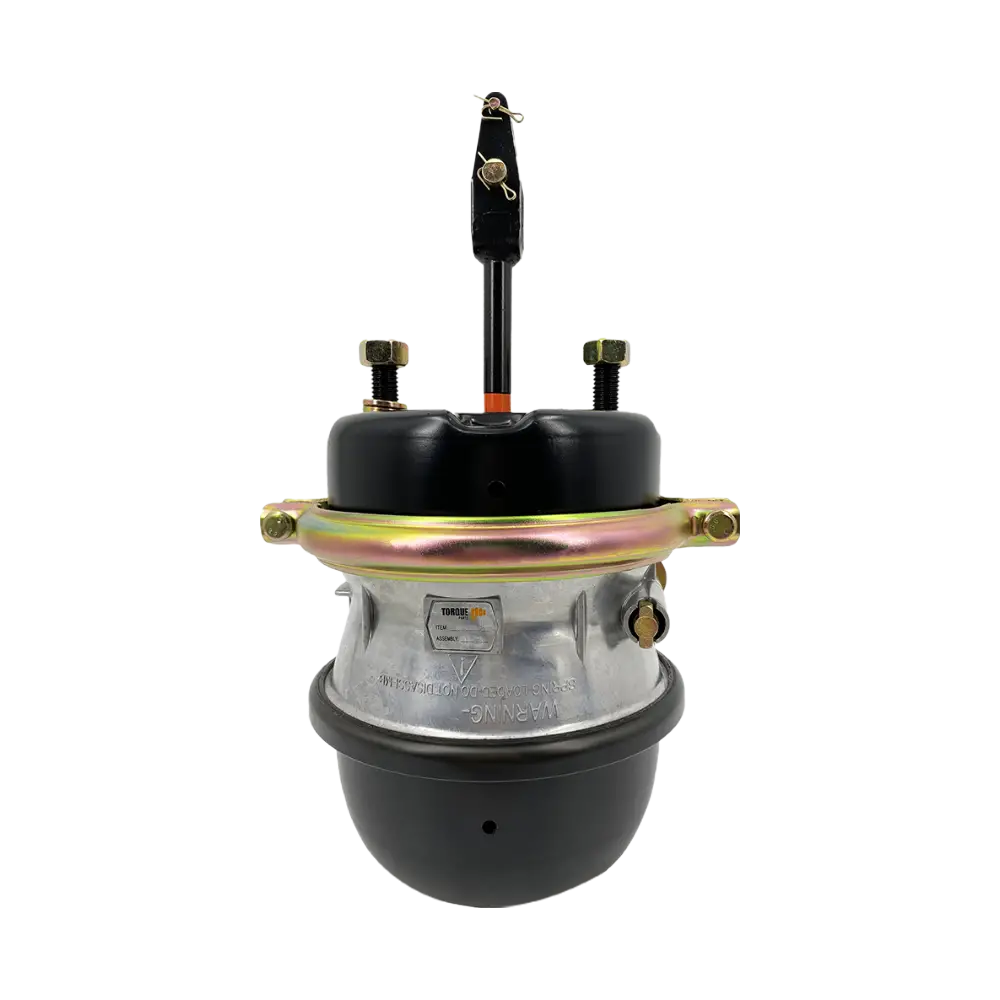 Brake Chambers
 Cables & Coils
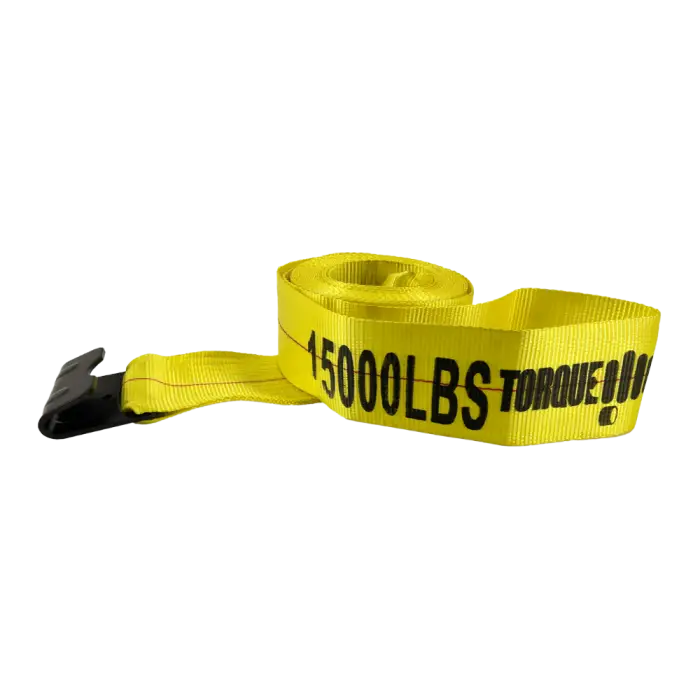
 Cargo Stabilizer
 Hardware and Fittings
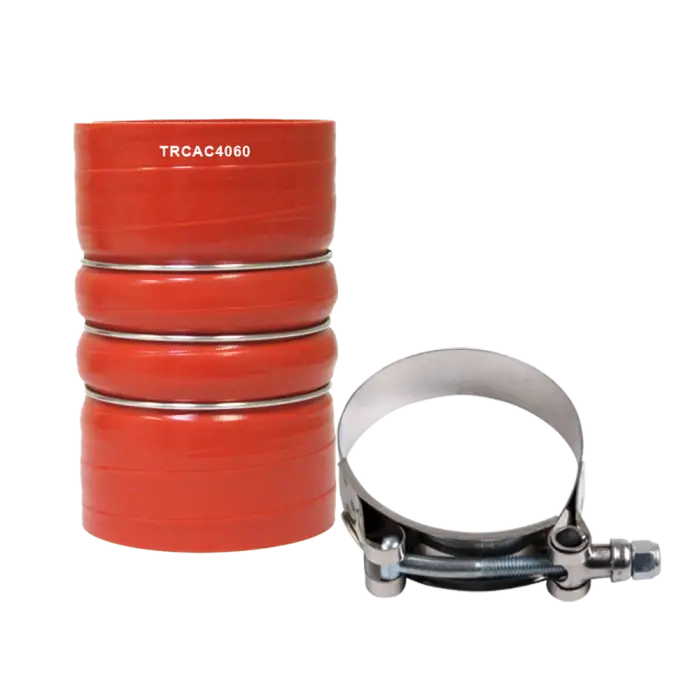
 Hoses & Clamps
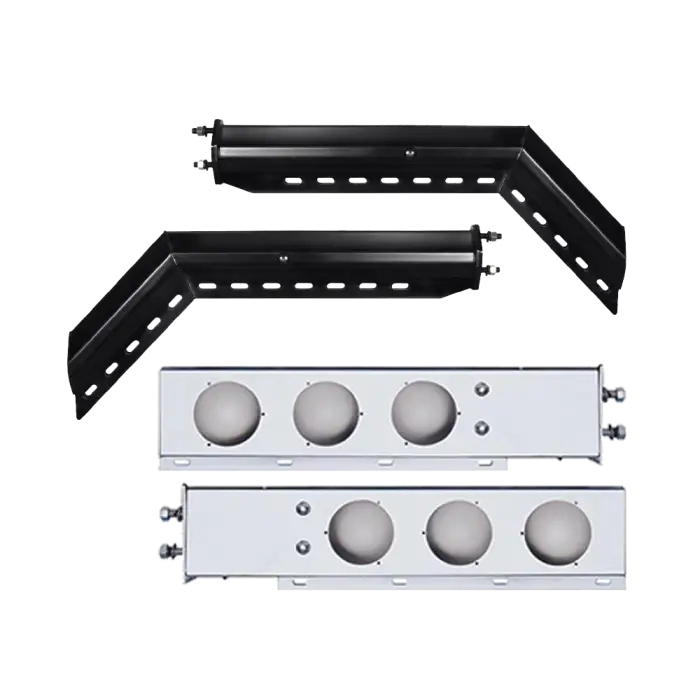
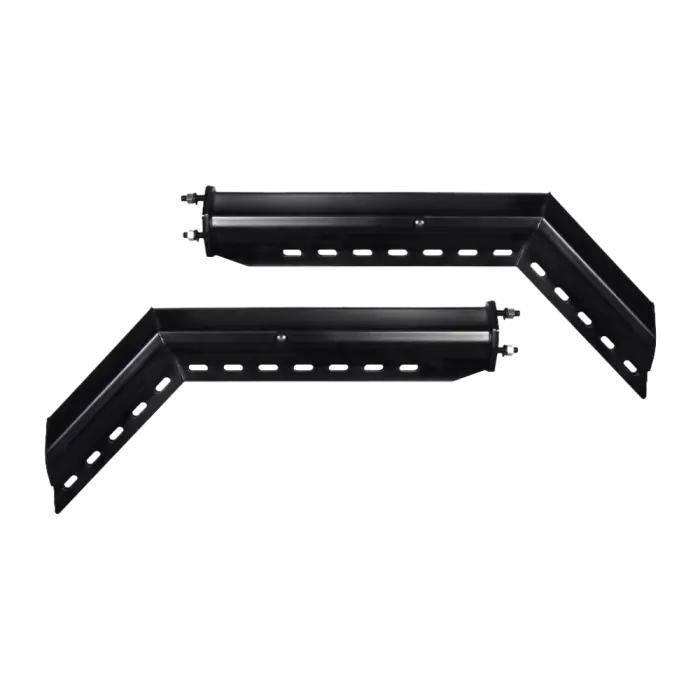
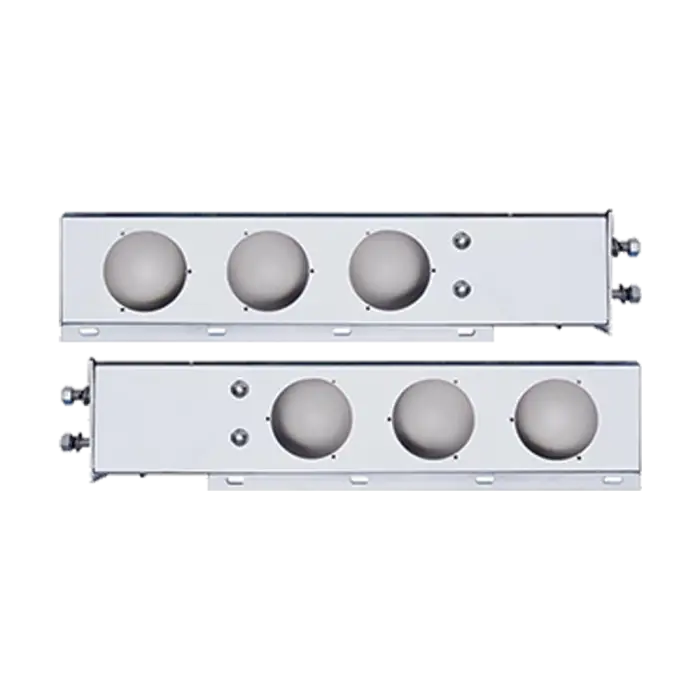
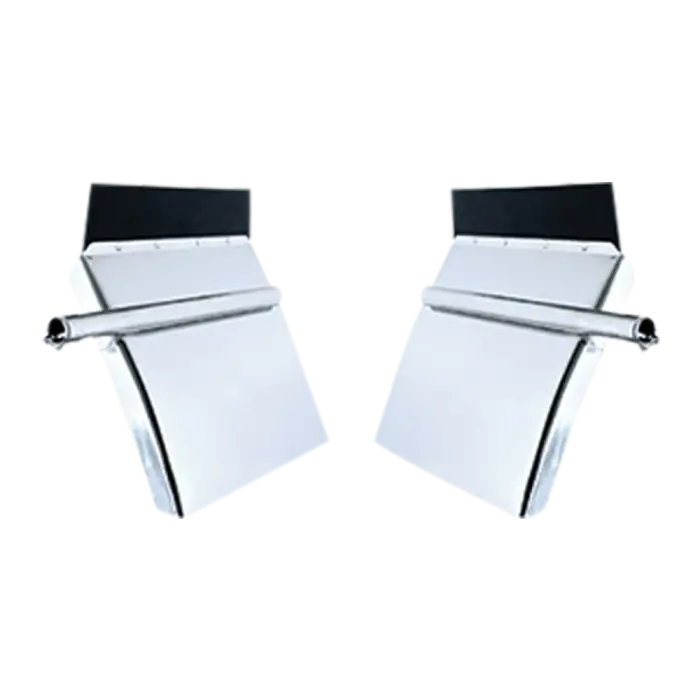
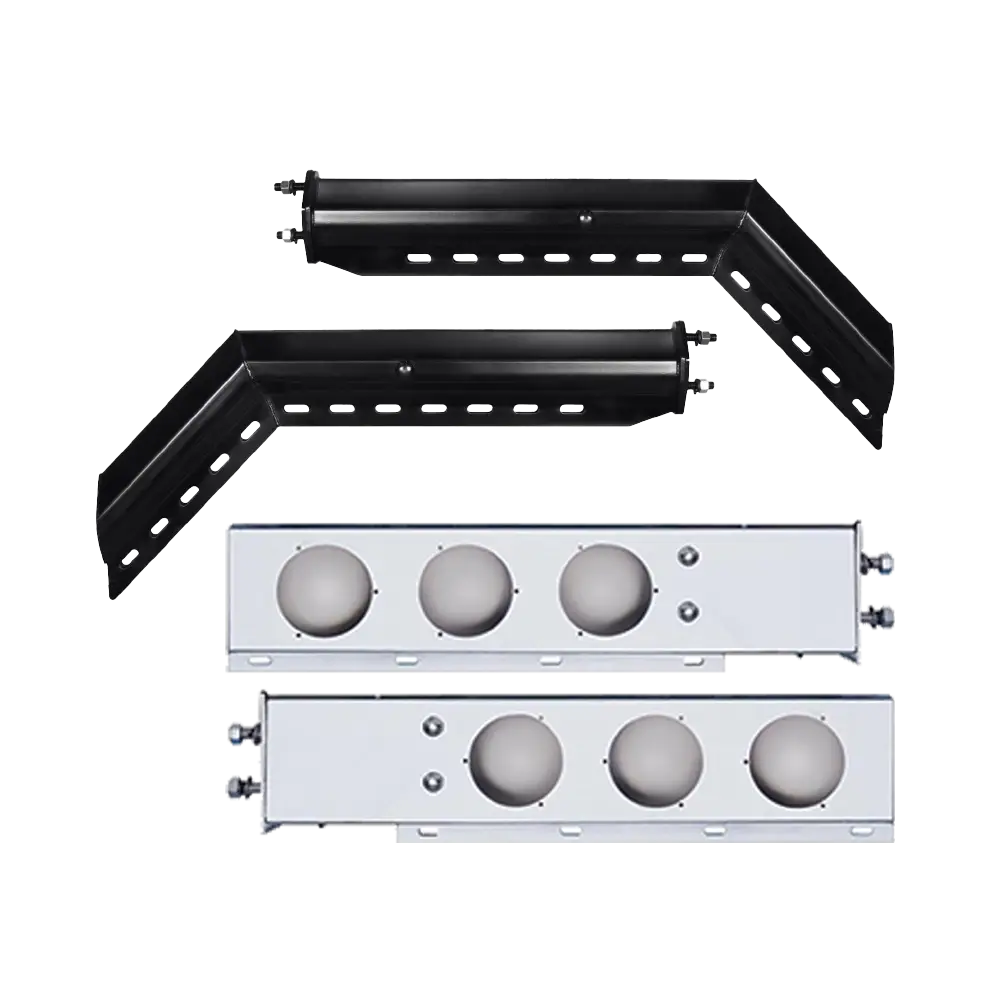 Mud Flap Hangers and Fenders
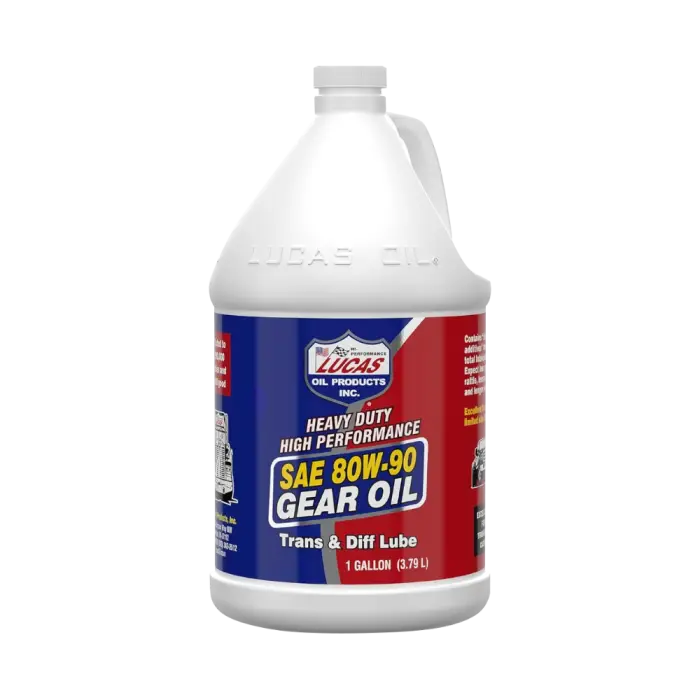
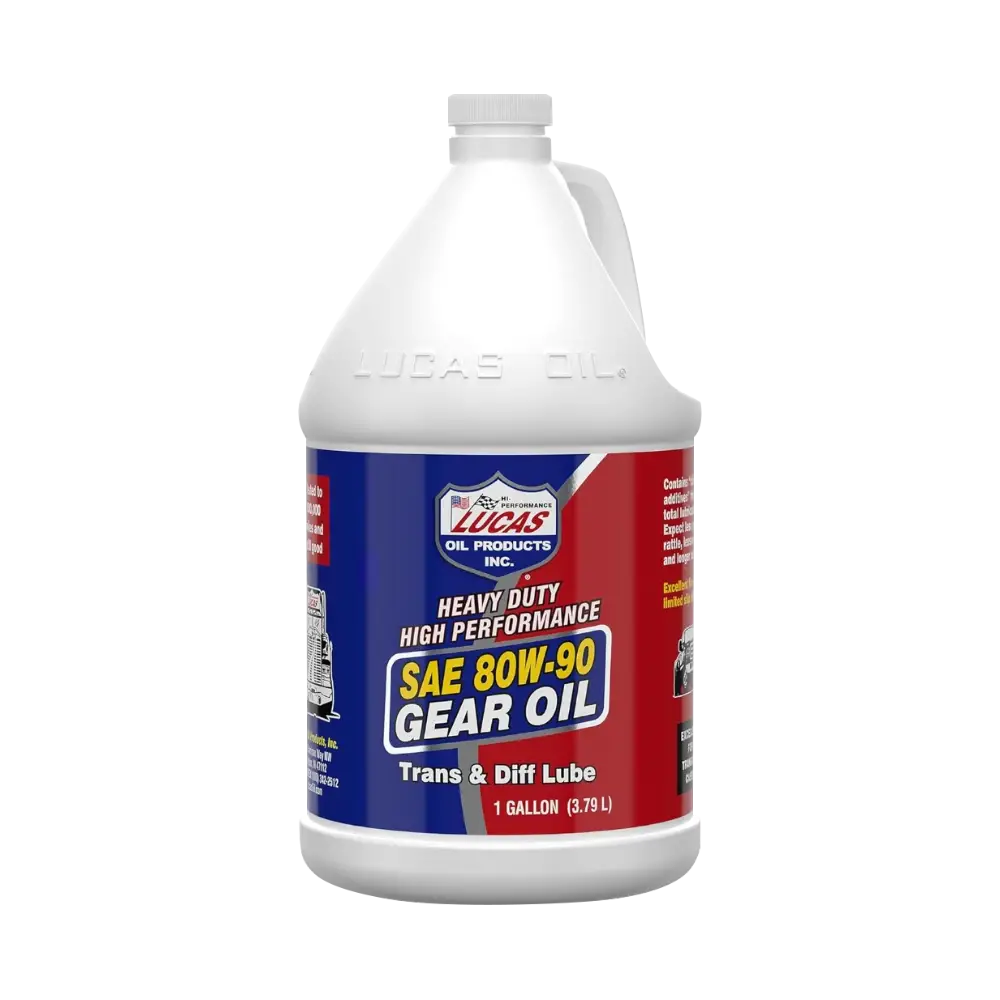 Oils, Fluids and Chemicals
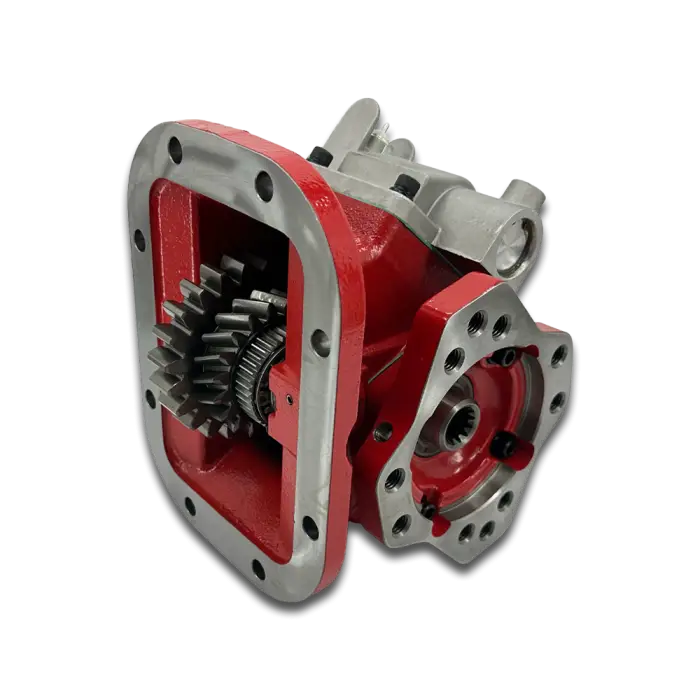
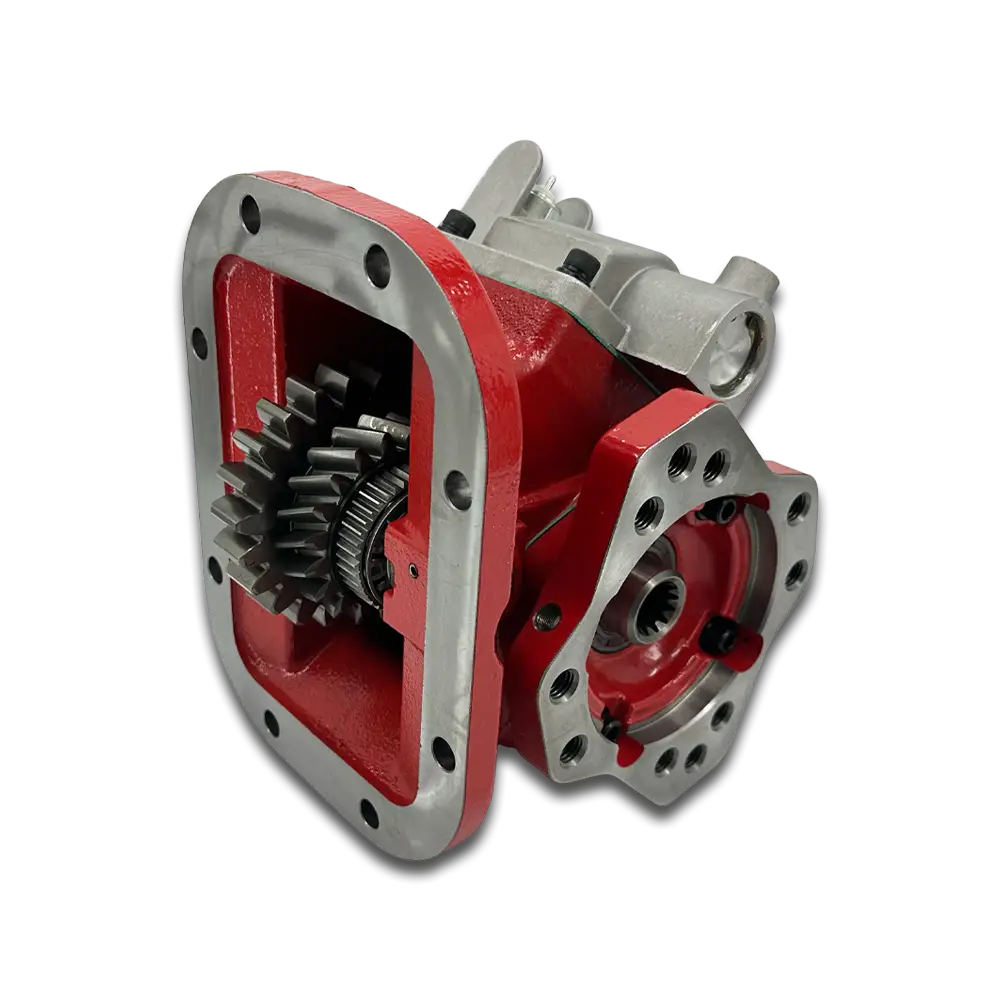 Power Take Offs
 Suspension Support Kits
 Suspension & Steering
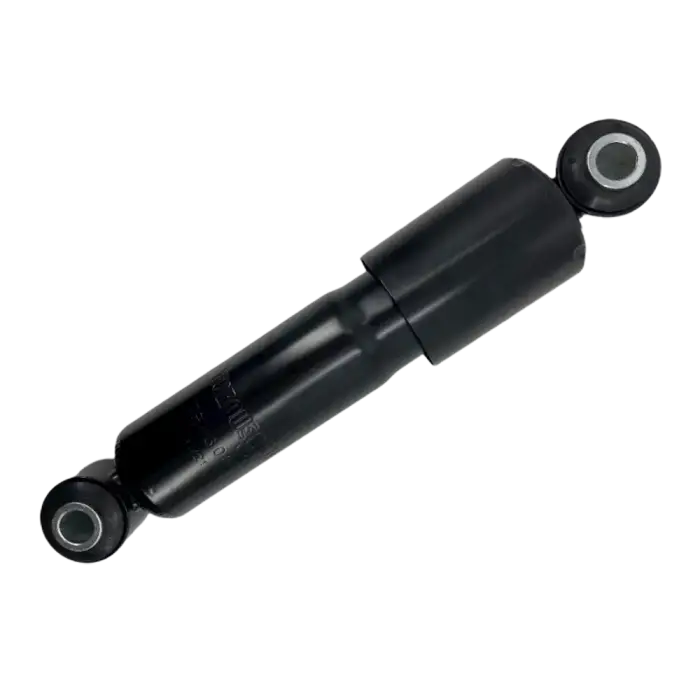
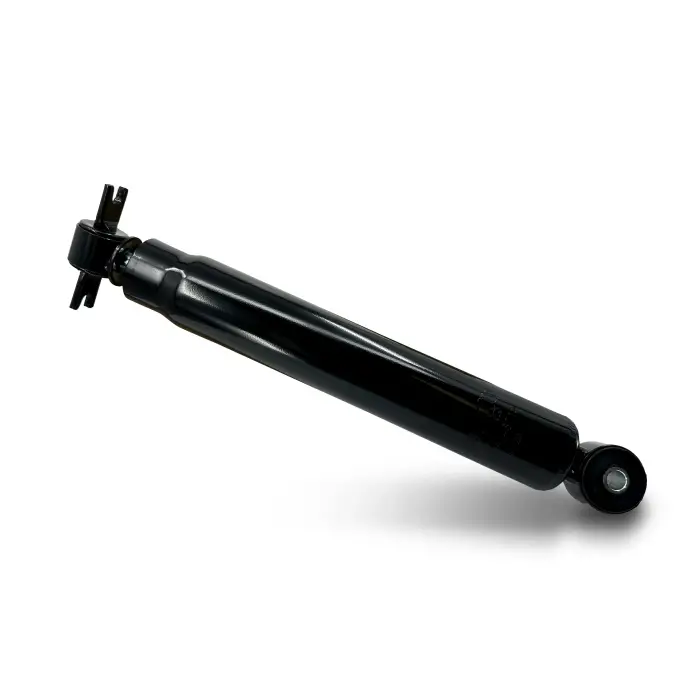
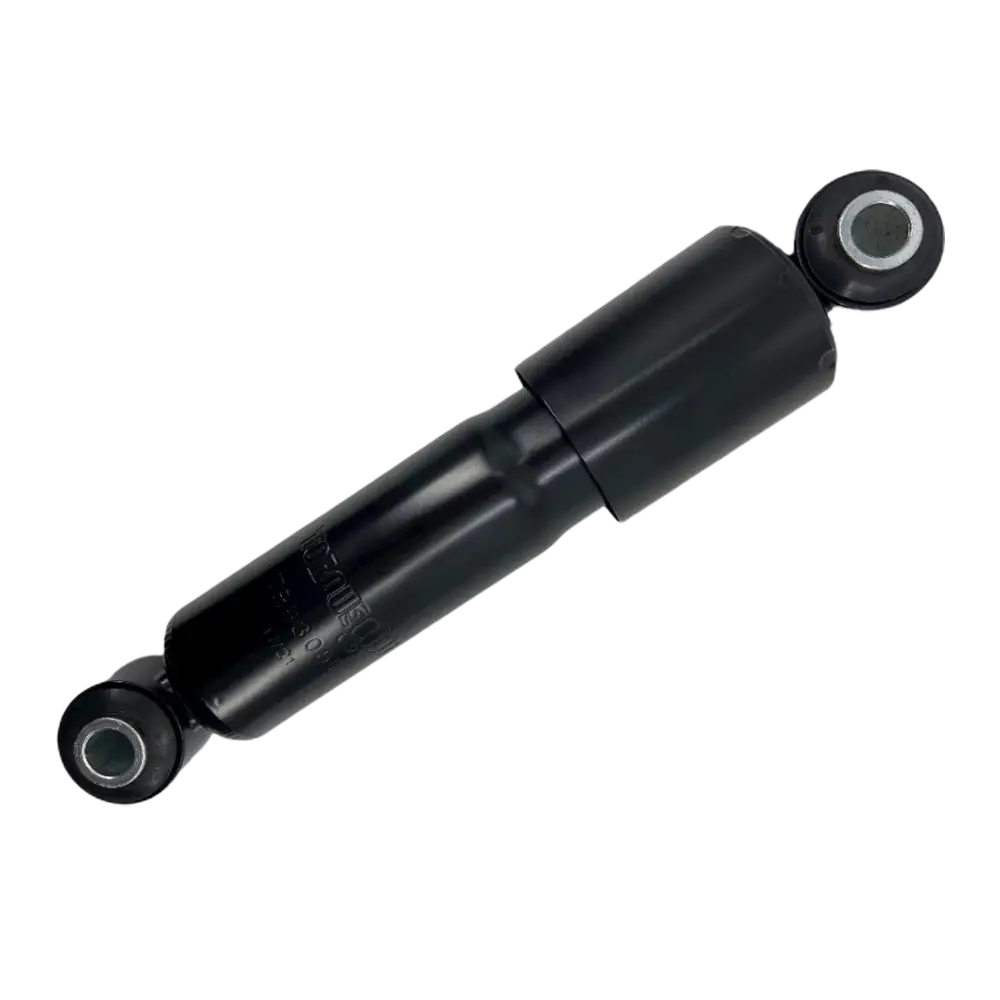 Shock Absorbers
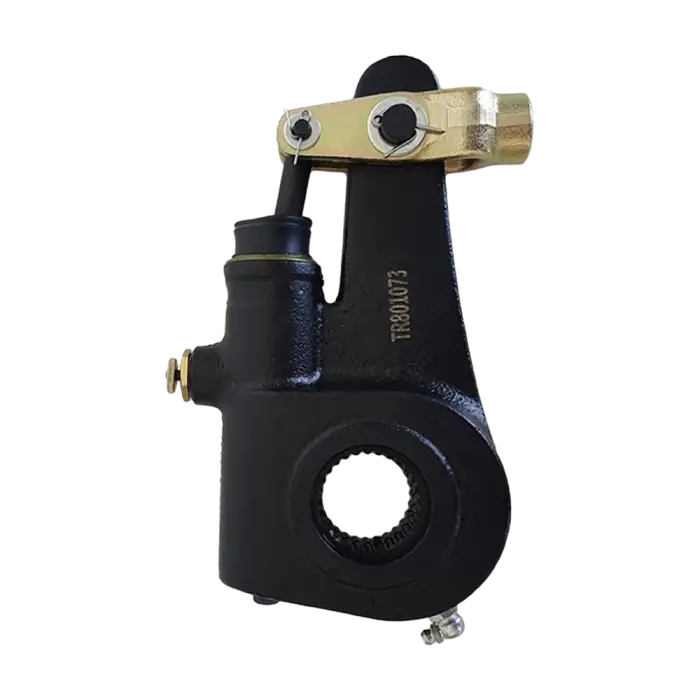
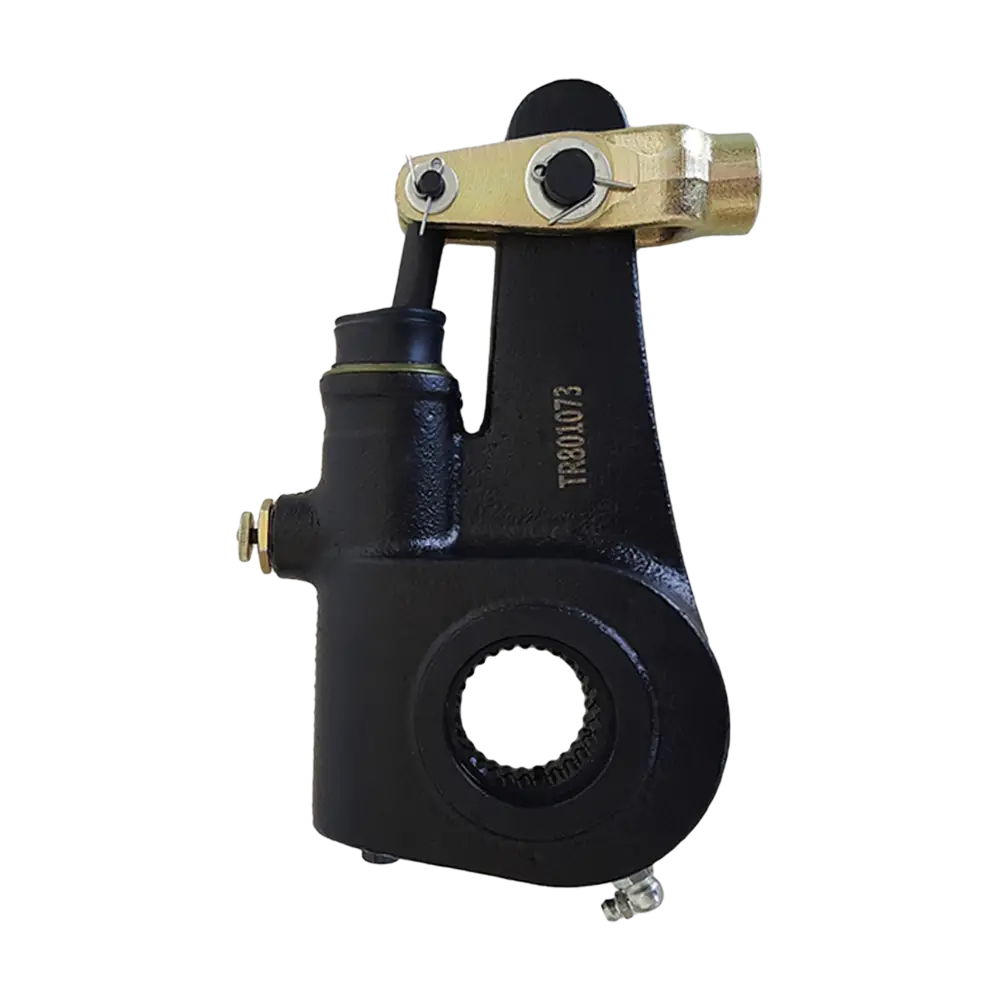 Slack Adjusters
 Truck Accessories
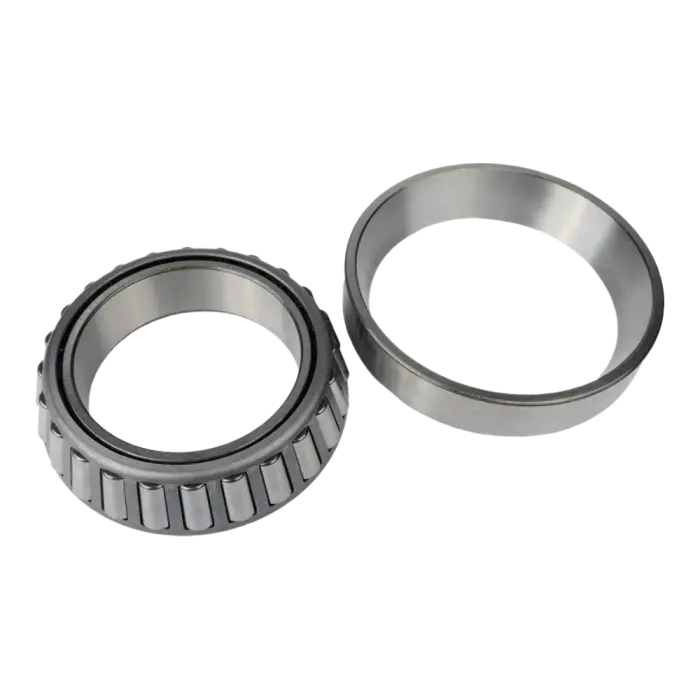
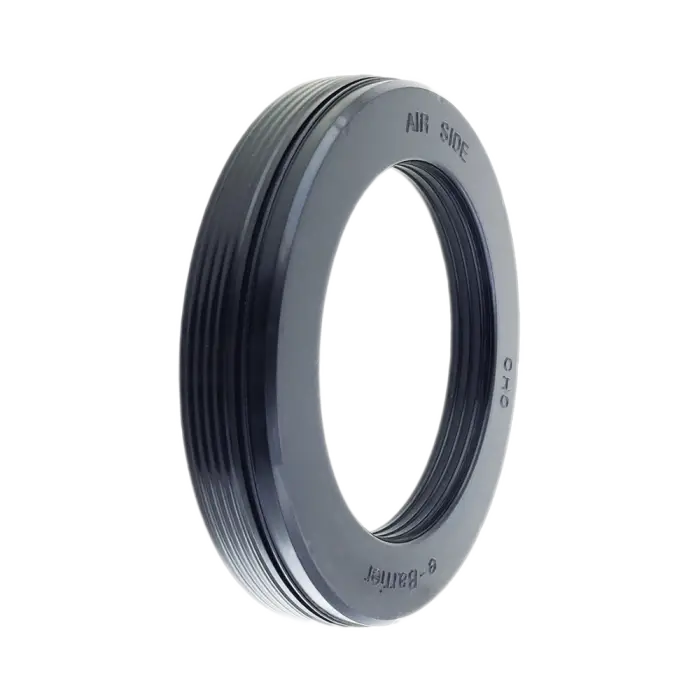
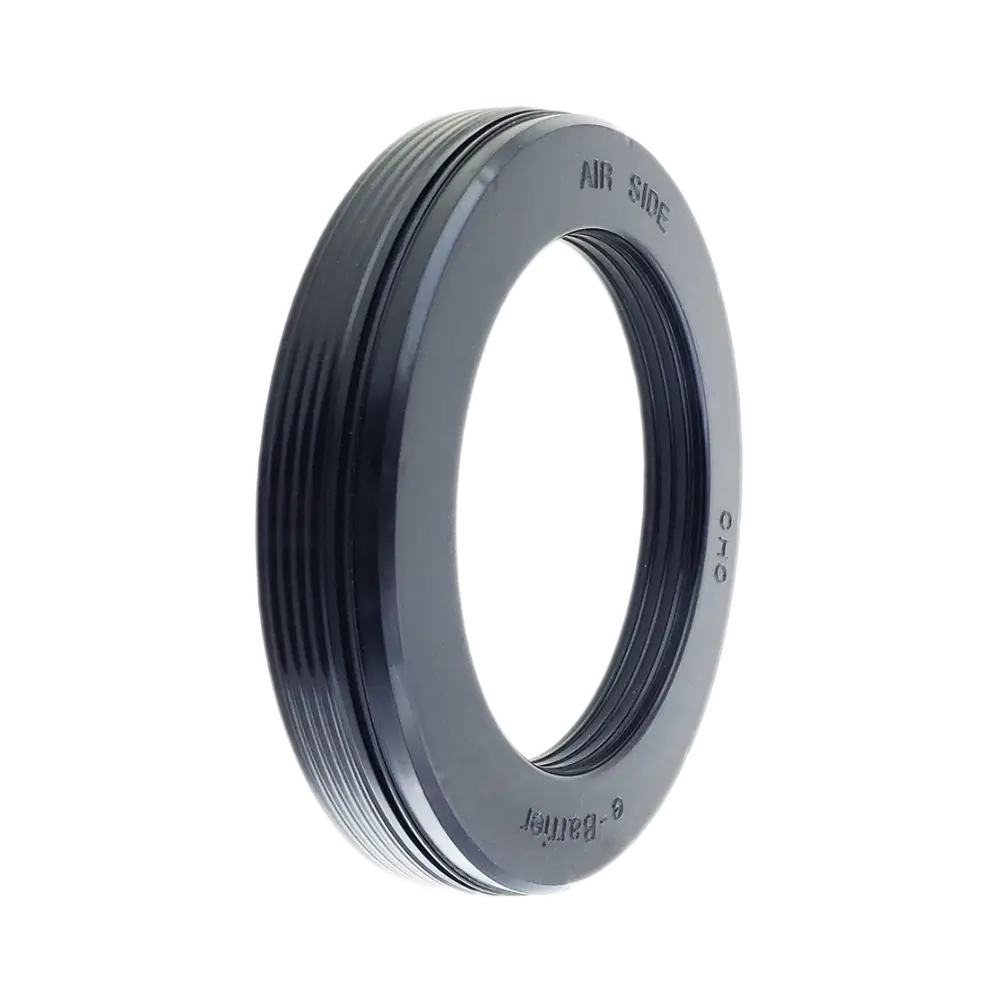 Wheel End Components
 Promotional Items